Hello readers of Lifeislikethatonela,
Ok it’s official. I can only manage to post one post per year. Sorry reader for the inactiveness for the whole last year. Was trying to get my shit together for work and adjusting back to the Malaysian lifestyle and of course the weather.
What have I been doing for the past whole year?
Well for one; i went to Bali. Yeap this post is going to be about Bali. Sit down tight whilst i bring you virtually around the island.
Day One
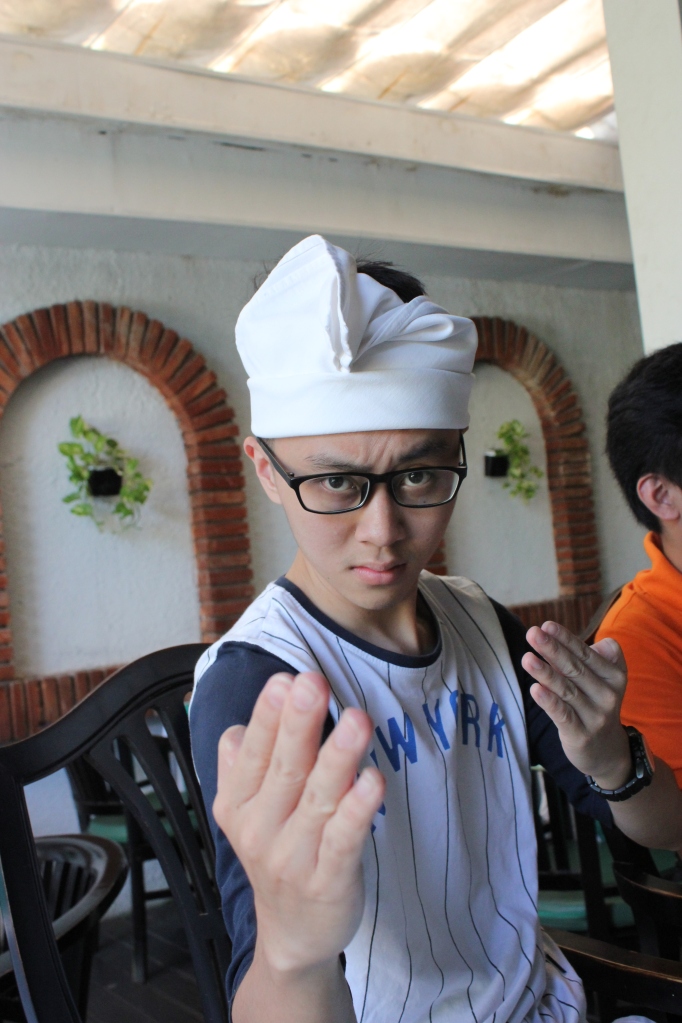
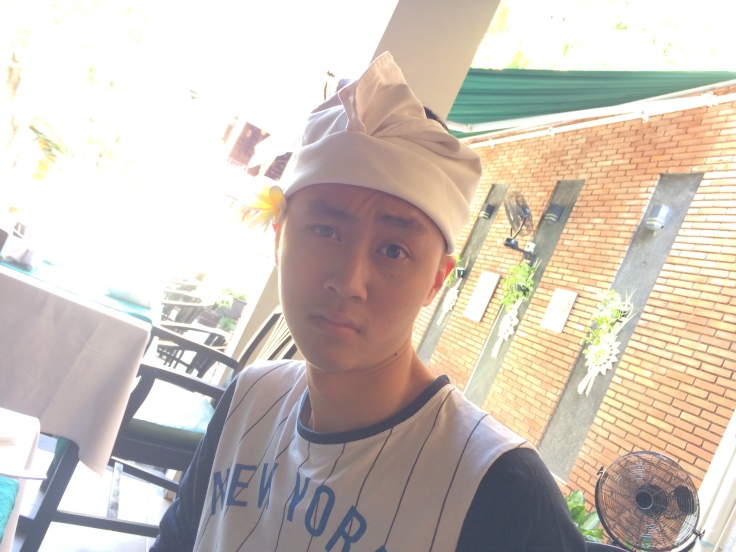
We reached bali on a night flight using AirAsia. Couldnt get a proper meal on board as most of the food was bought by the front row passengers. Geez; thats the thing about budget flights.
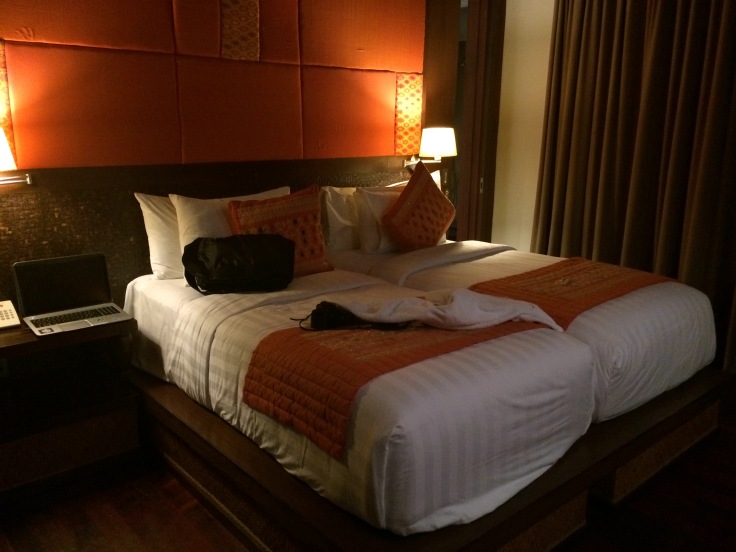
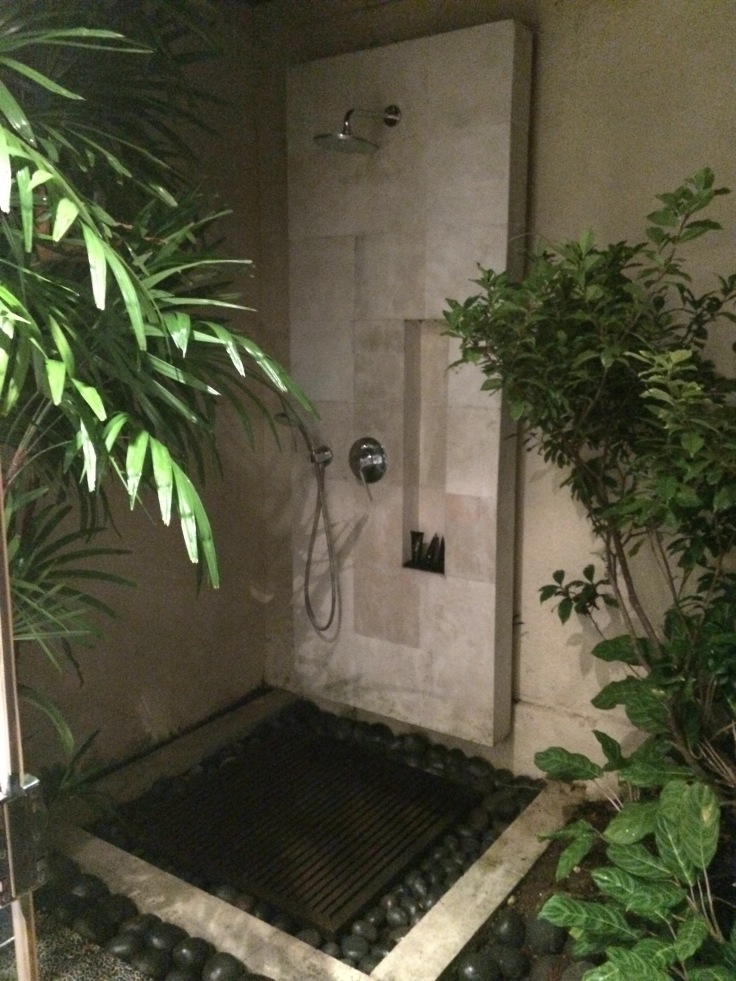
We were offered a shuttle service from the airport to the villa. There’s the address below for the villa.
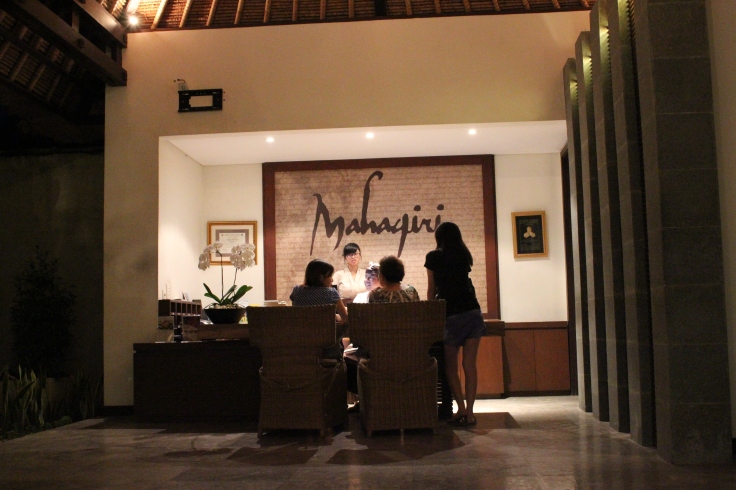
Address: Mahagiri Villas; No., Jl. Pungutan No.31, Denpasar, Kota Denpasar, Bali 80226, Indonesia.
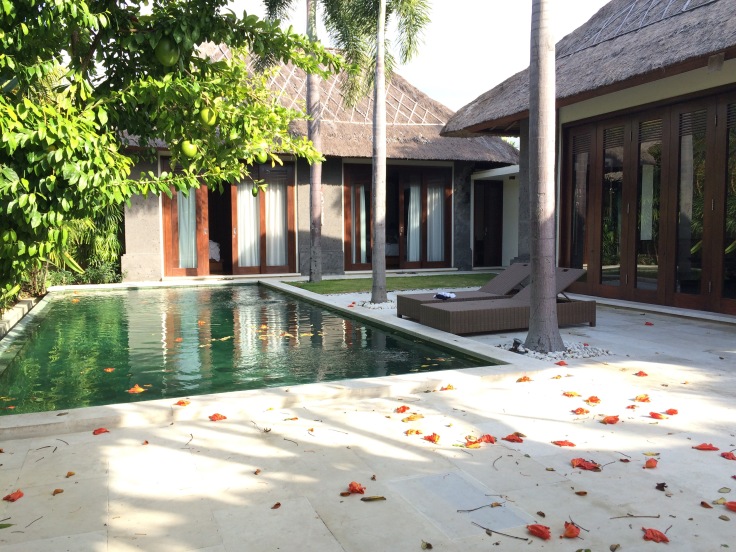
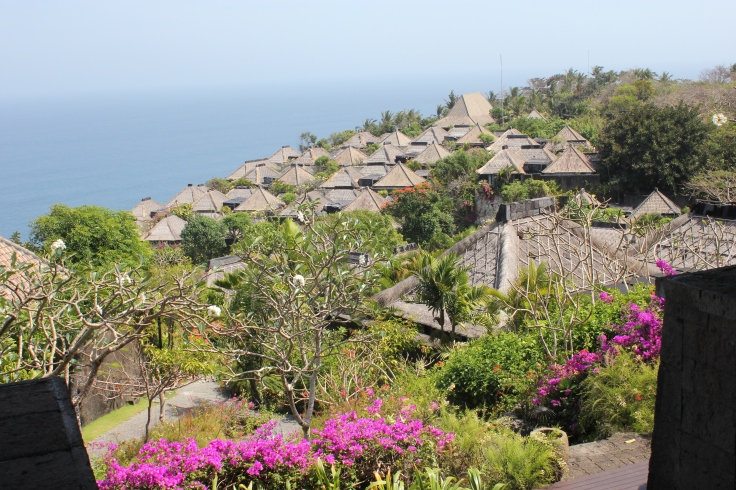
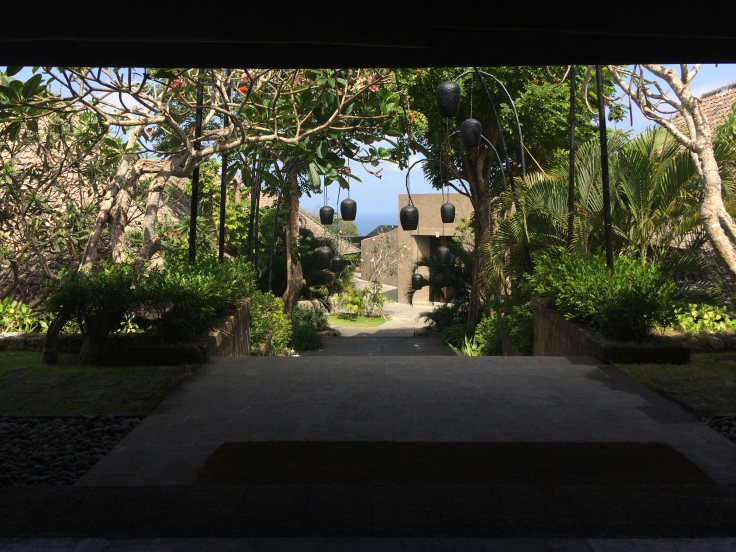
Didnt take them long to check us into our villas but here’s a sneak peek of the villa.
Day Two
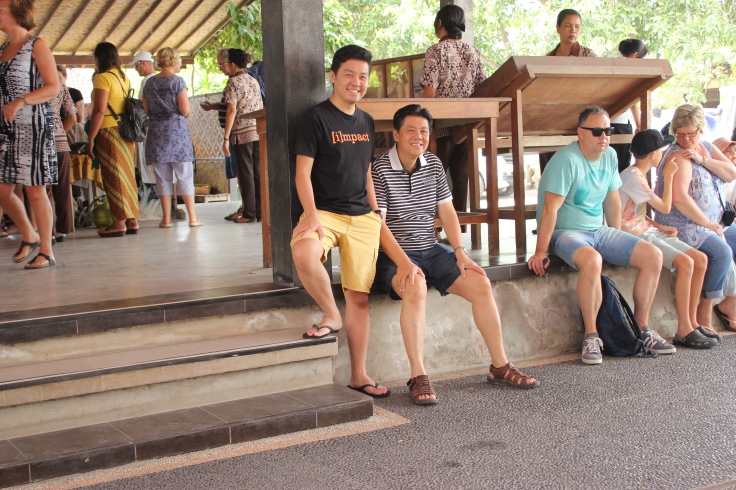
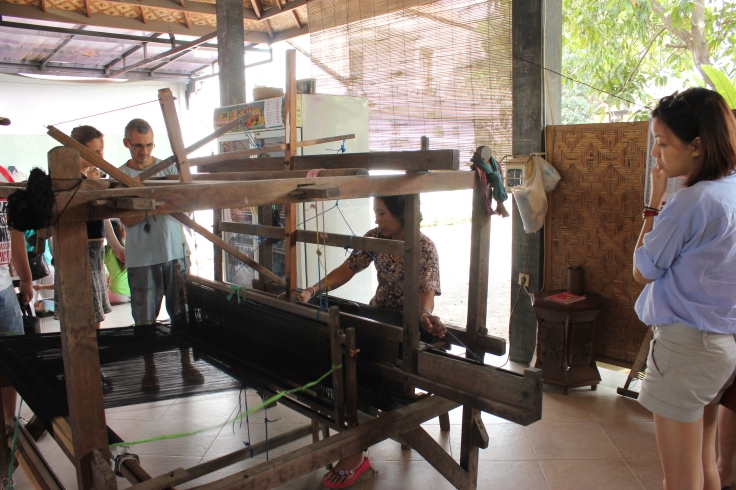
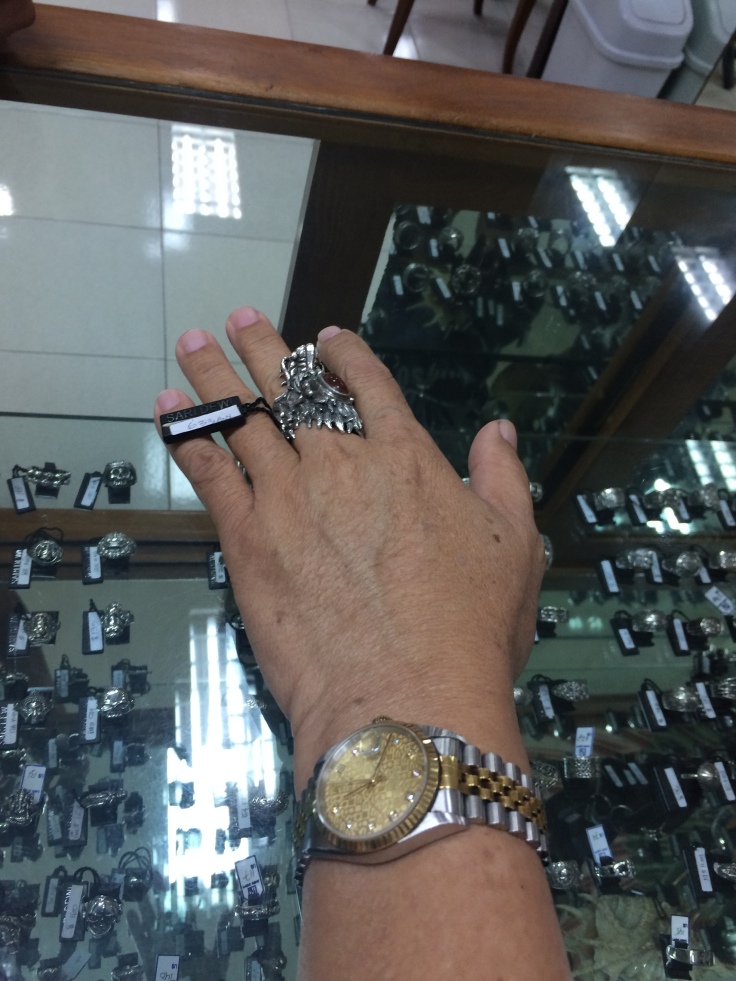
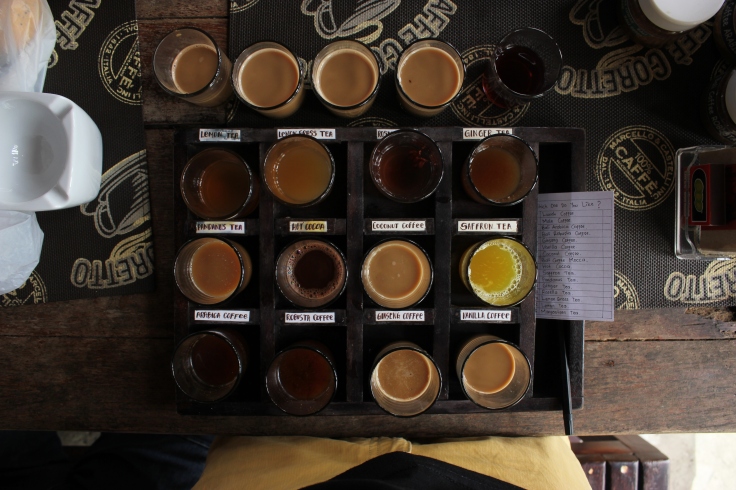
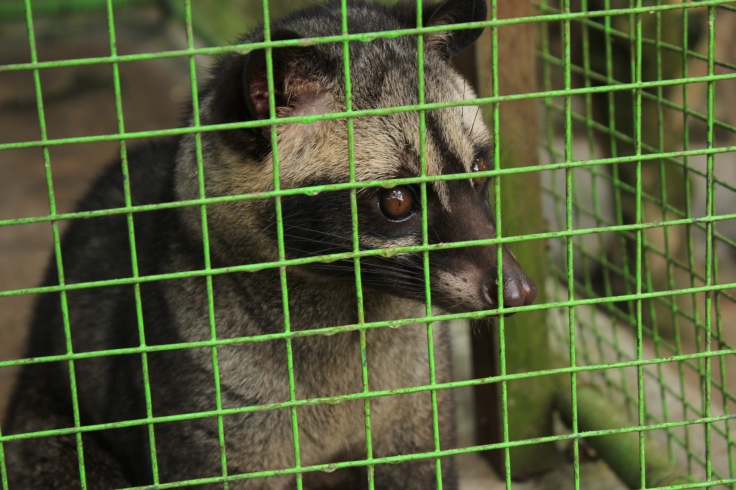
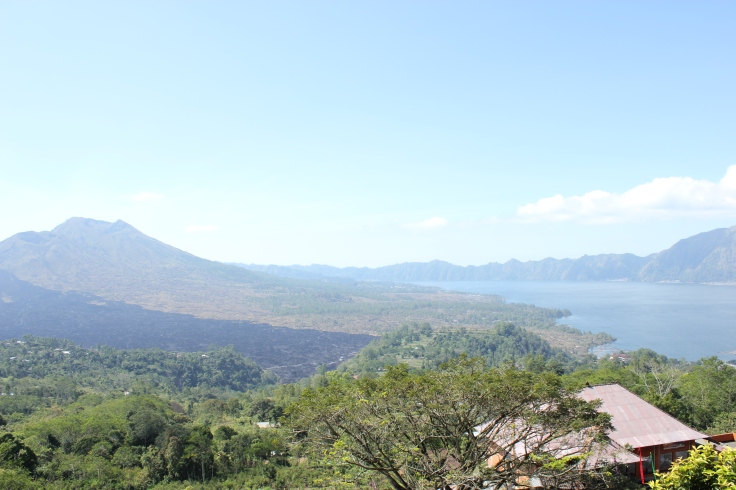
Woke up at 9 to start the day. Usual breakfast at the villa. Off to start the day with a driver to bring us around Bali. We headed off to the Volcano “Kintamani Volcano”. But on the way we took a few stops at a batik factory, a silver factory and a coffee shop which brew the amazing coffee none other than the Musang coffee or a.k.a Luwak Coffee.
None of these amazes us as we have all of these in Malaysia. But i did buy the Luwak Coffee Beans at a hefty price.

Took us around 3 hours to reach the peak of My Kintamani. We didnt regret that but all we did whilst on the trip was sleep and sleep and sleep in the car. As you ca savor your eyes below:-
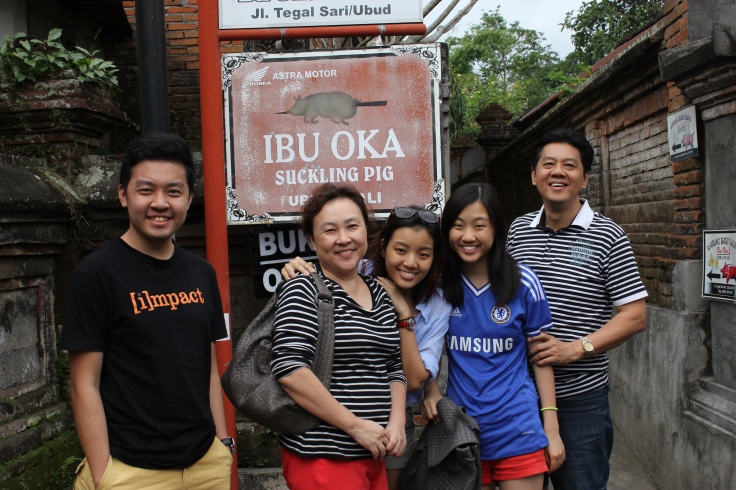
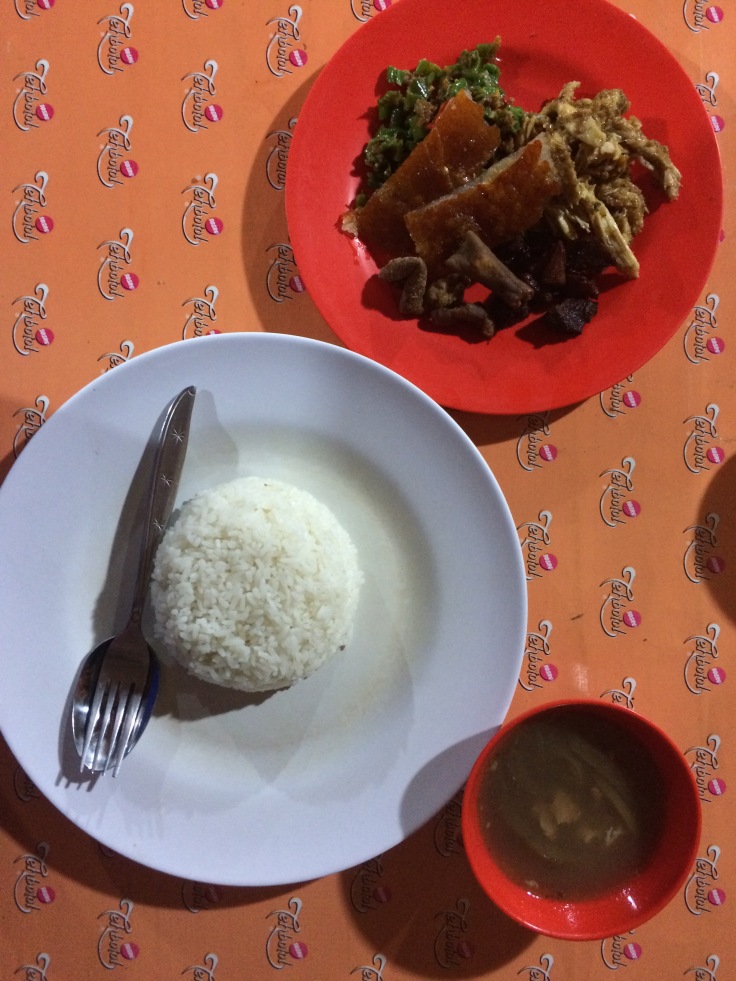
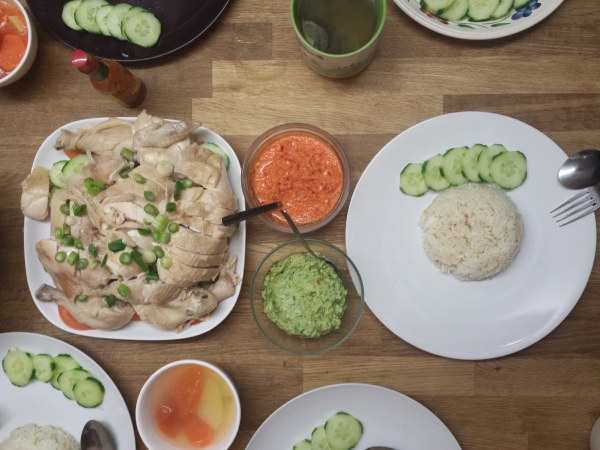
Right after we headed of for lunch to try the amazing Ibu Oka: Babi Guling. But to no avail they ran out of babi guling. We were depressed. Oh and please Babi Guling is not suckling pig you normally savor during Chinese dinners. so please do not be amused when only the meat and skin of the pig comes in front of you.
Warong Ibu Oka, Babi Guling: Jalan Tegal Sari No. 2, Ubud, Kec. Gianyar, Bali, Indonesia
Note to self and you: if you ever want to try the amazing Babi Guling go before 2pm or even earlier. Could see the service there was pretty bad but hey everyone’s here for the food right?

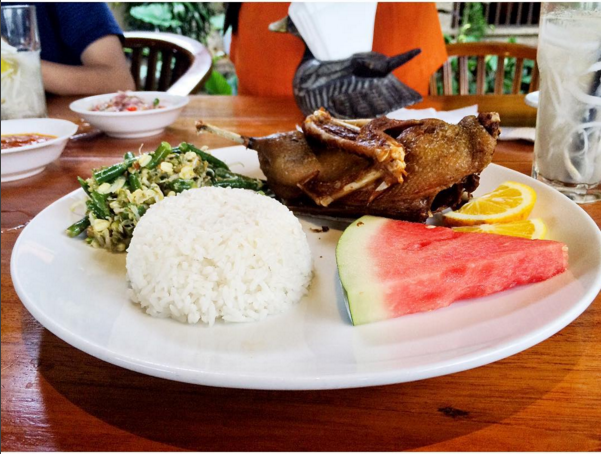
So we headed off to Bebek Bengil which was the alternative of Naughty Duck Dirty Babe in Malaysia. The duck was super deep fried but gladly it wasnt dry at all. For this i give it a thumbs up eventhough it wasnt an alternative to my Babi Guling.
Address: Bebek Bengil(Dirty Duck Diner) Jalan Hanoman, Padangtegal, Ubud, Kec. Gianyar, Bali 80571, Indonesia
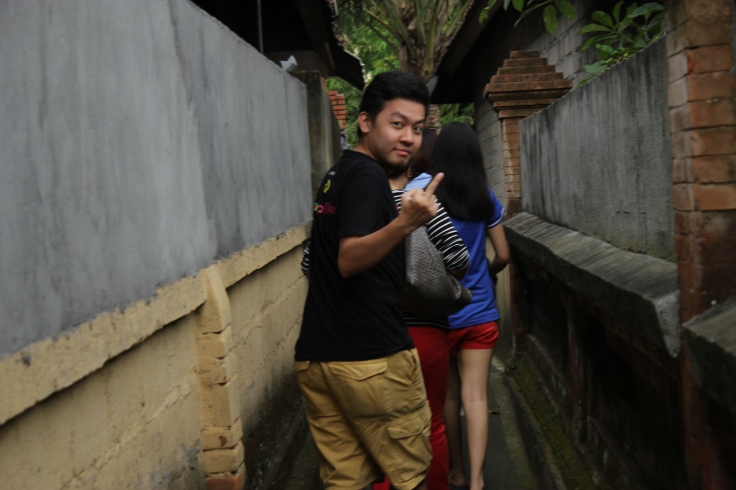
We headed back to the villa right after that. Didn’t felt as though we accomplished much but i guess having to cramp my butt in the van for 3 hours was good enough.
Day 3
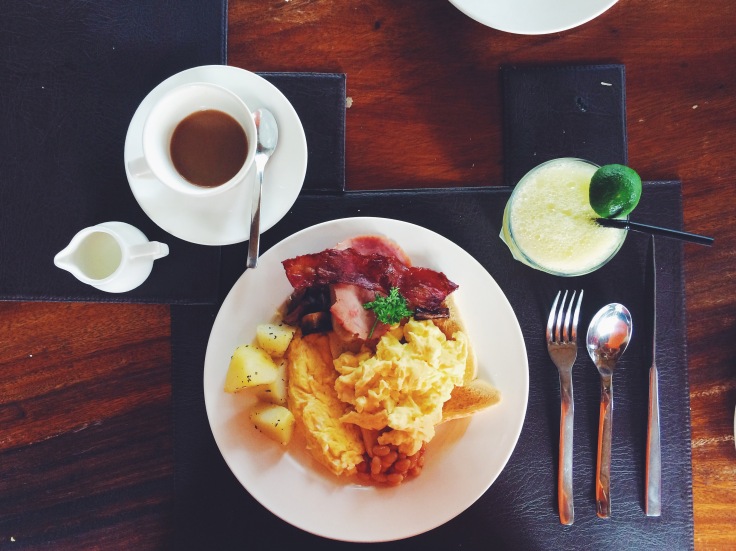
Woke up to another amazing day in Bali. We had three breakfast choices and i decided to get along with the continental set. Tell you; the croissant was perfect for a bali villa.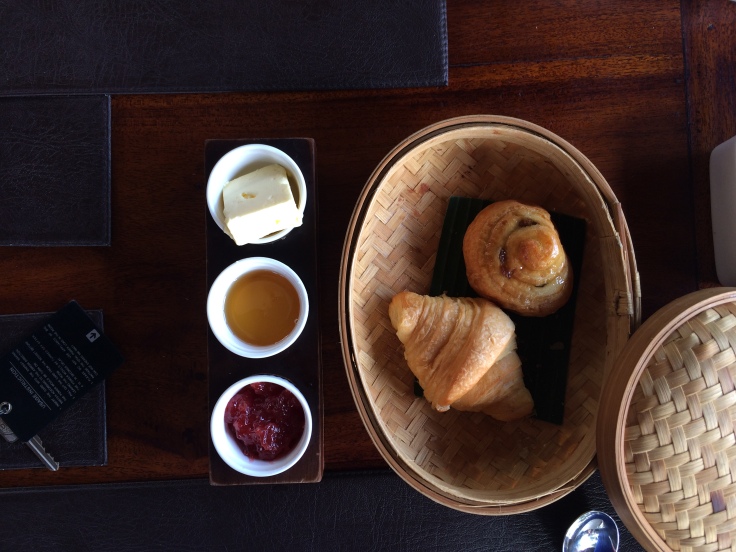
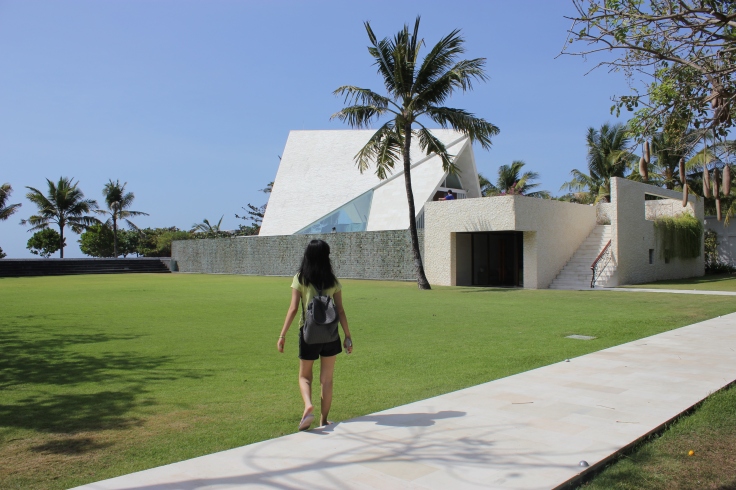
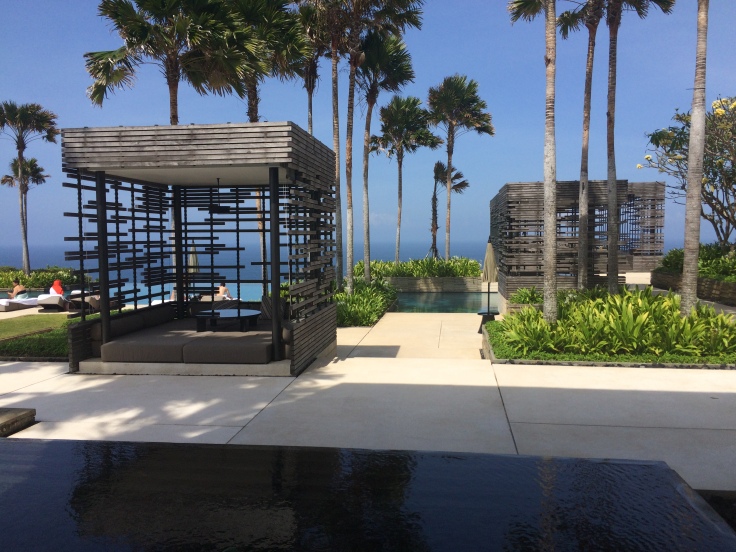
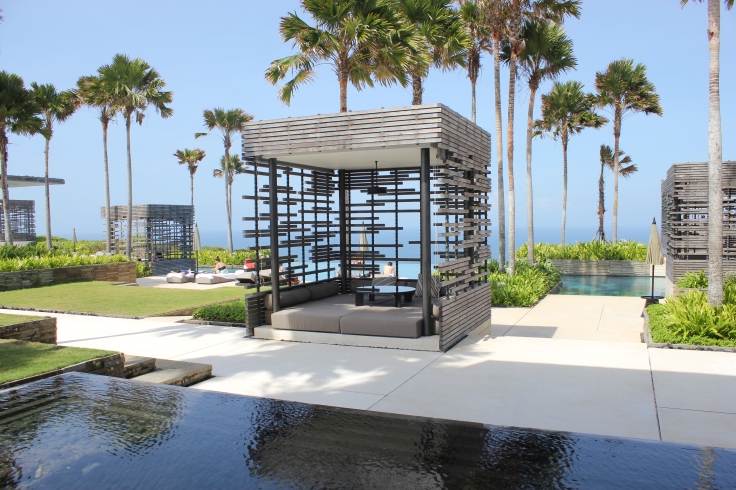
So we decided to cramp our butts again in the van for a good long 2 hours to reach nusa dua and checked out all the 7 stars villas in that area. First stop;
Royal Santrian Villas
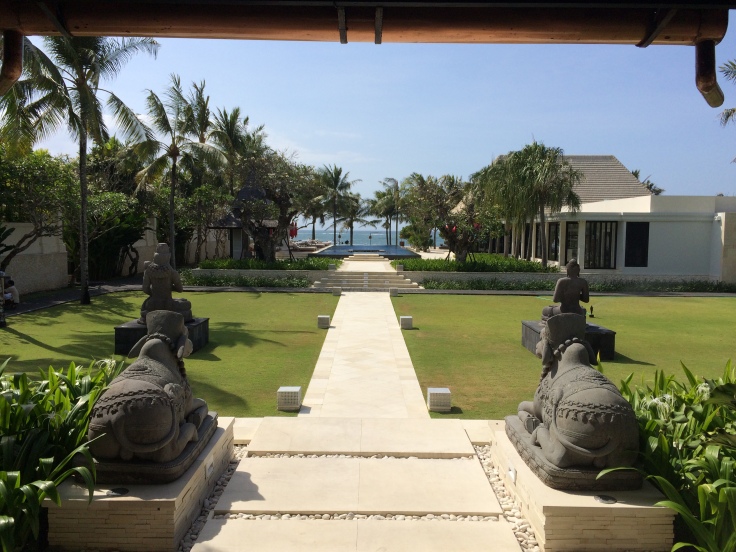
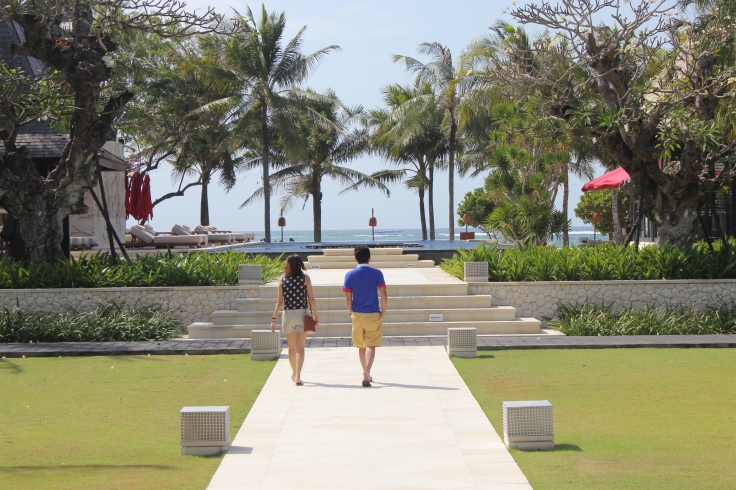
Royal Santrian Villas
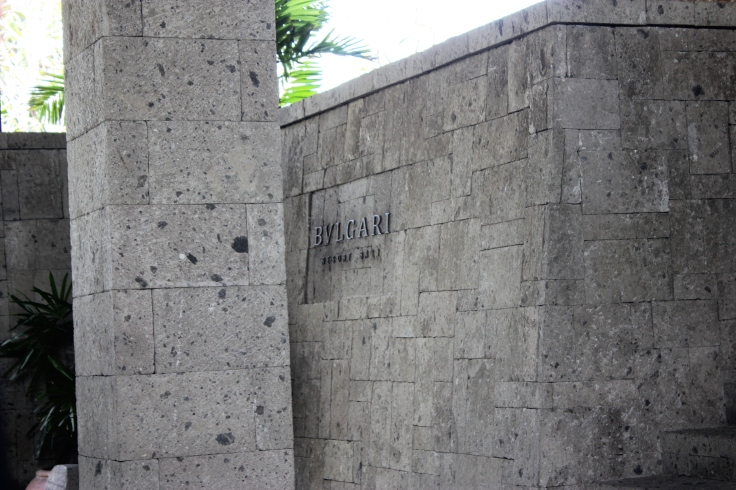
BVLGARI (BULGARI) Villas yes, the bag brand.
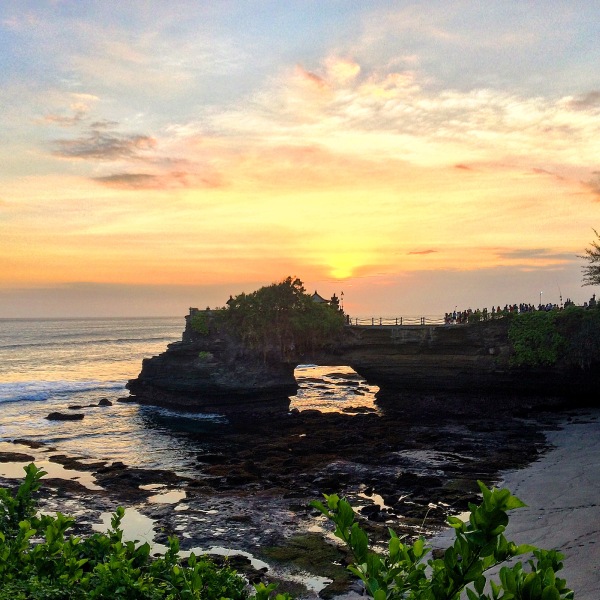
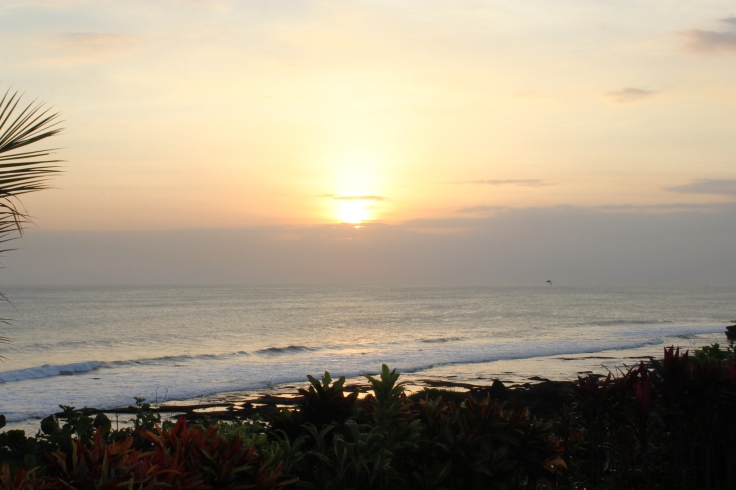
 Right that was enough of villa hopping. now to the real deal of the day. TANAH LOT. this place holds an amazing view and history. forget about Mt Kintamani. Tanah Lot has something you’ll never ever set your eyes upon. I’ll keep my words to a minimum. the sunset was pure heartwarming.

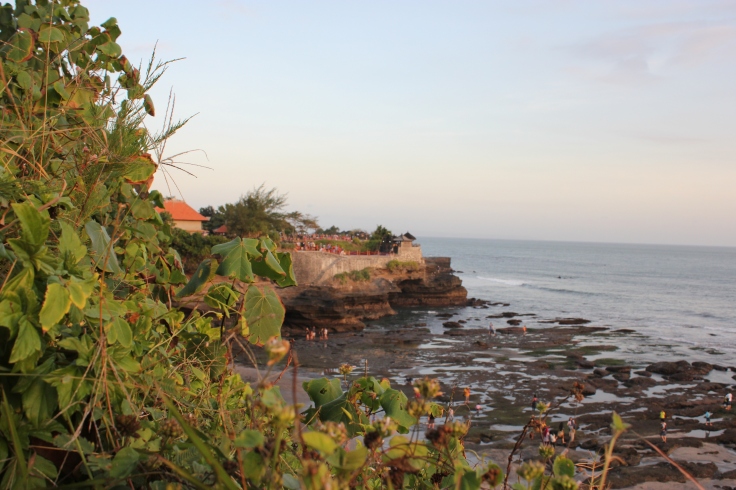
We stayed there till 7.30 till the sun fully set then headed off looking for food again to feed our forever hungry Low family tummies. So as i was being a bitch craving for Babi Guling we stopped by a random shop to feast on my ever beloved Babi Guling. I thought it was rather not bad. But the other Low’s decided the other way. So i had to chomped down my food so we could go to another restaurant.
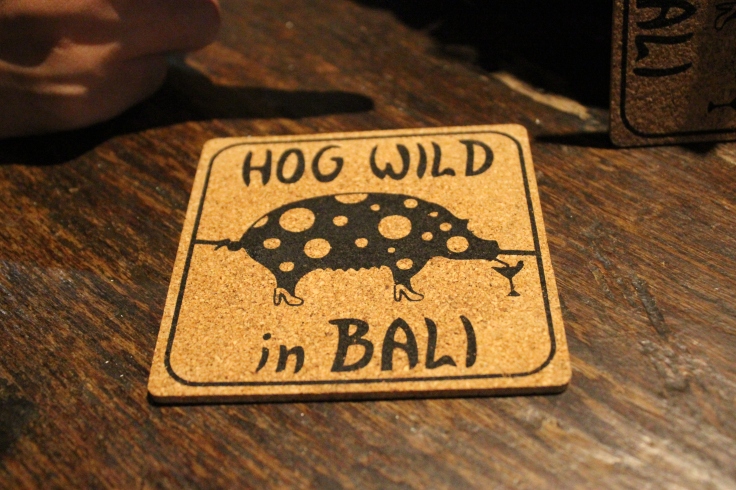
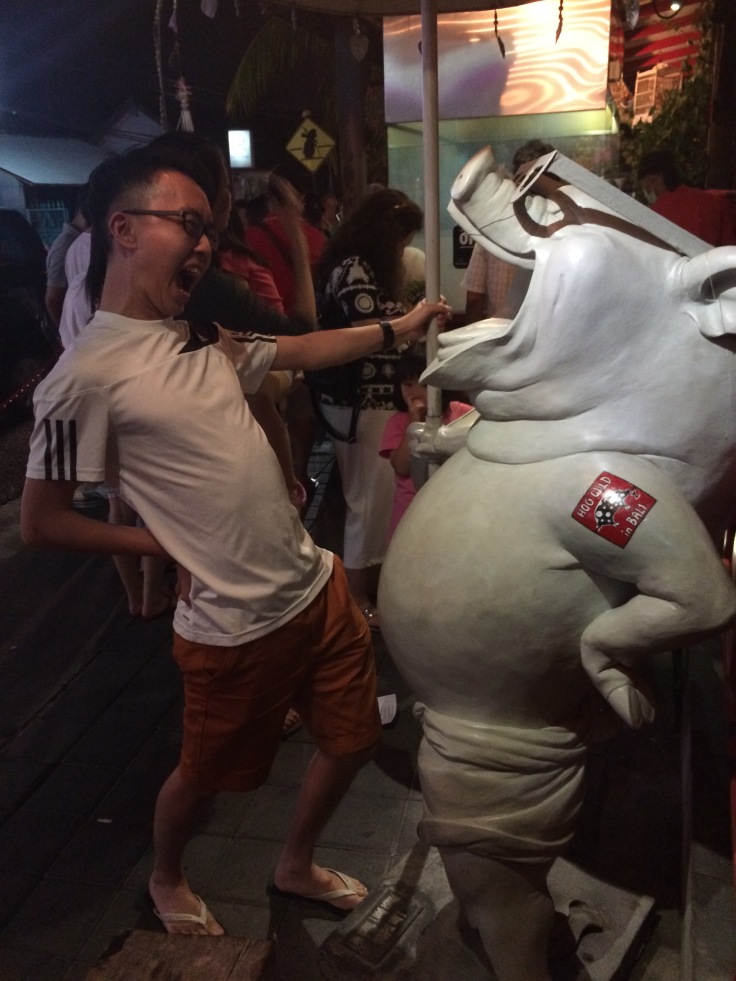
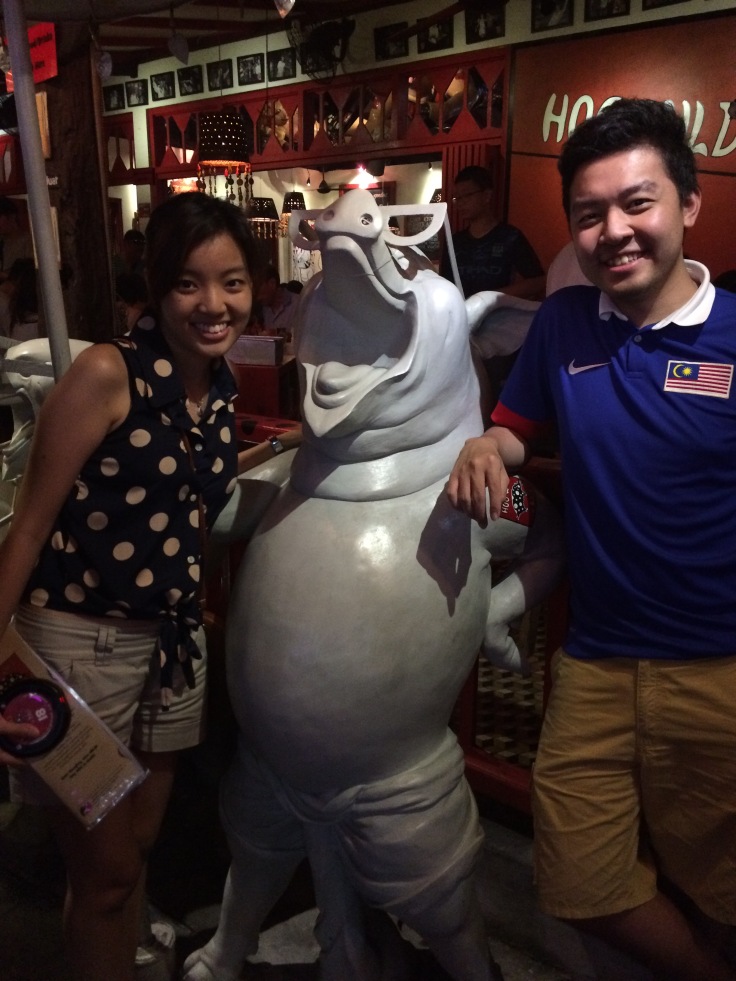
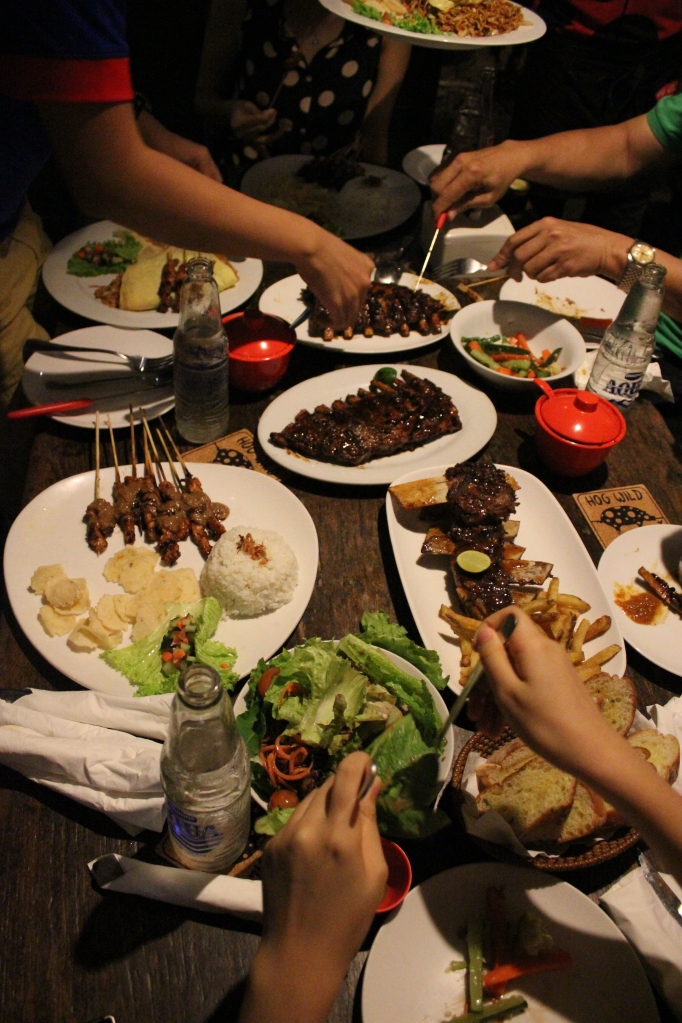
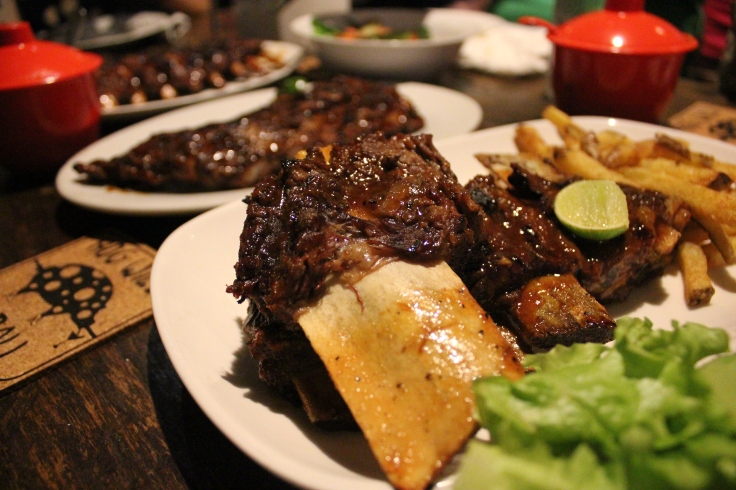
So we headed off from the Babi Guling Shop and went to Wild Hog.
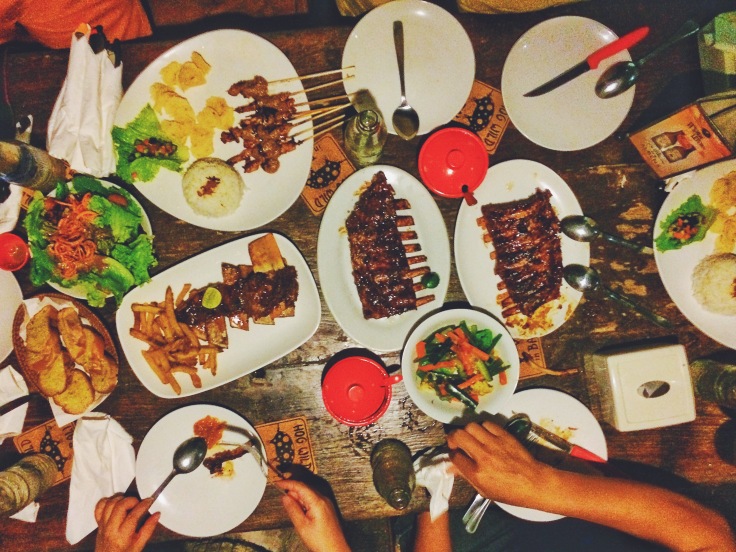

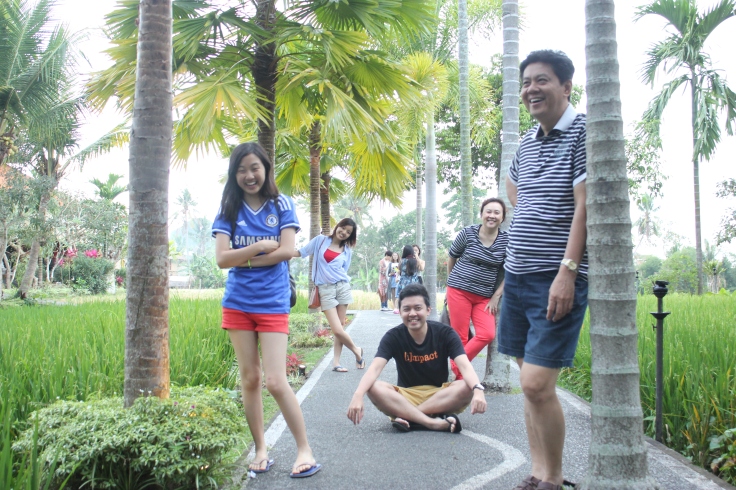
It was a tremendous day. the food; the scenery the villas. we died when we reached home at around 11.
Day 4
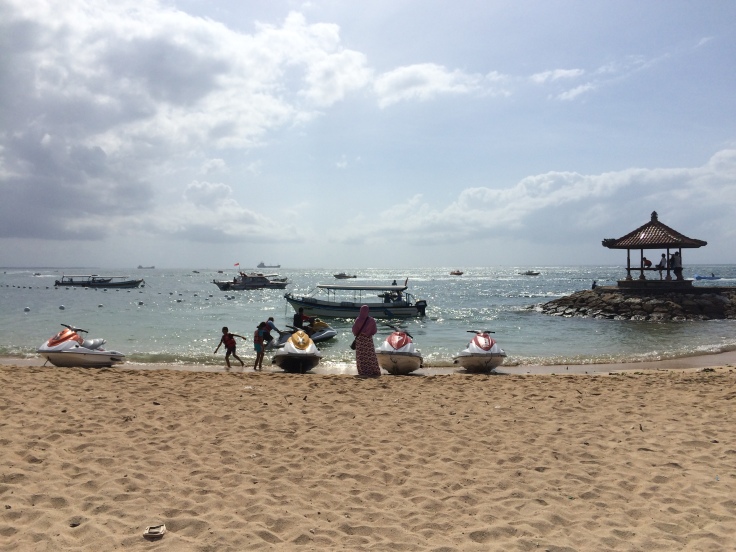
Our last day here. It was more of a relaxing day indeed. Laze in the bed till 11. had late breakfast. I told the butler i wanted everything they have on my plate.
As there wasn’t much to do we headed off to the Denpasar beach and did a few beach activities. Jet Ski whilst the girls and the older Low’s went for mani , pedi and massages.
So that was the end of the Bali Trip. It wasn’t the best trip I’ve been but hey! family is where the heart is right?
Verdict
Bali was an alright place. I wouldn’t say it was truly amazing but i really did enjoy spending time with my family there. It was a good getaway place for you to understand and experience more about the Jawanese culture and oh gawd; the sceneries was to die for. I didnt plan for this trip as i was caught up with work so we just headed the way my elder sis planned and chillax the whole trip without any worries.
I might come back here again but definitely not for my honeymoon; maybe to chill and experience more of the small but beautiful island.
I promise to write more this time round about food and my travels. Let me know how this piece went whether do you prefer my travels or my recipes.
Signing off;
your travel buddy.


")


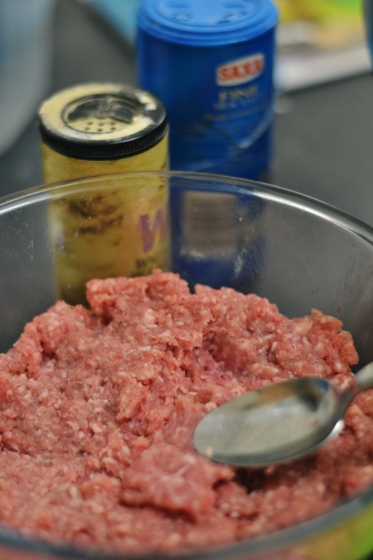


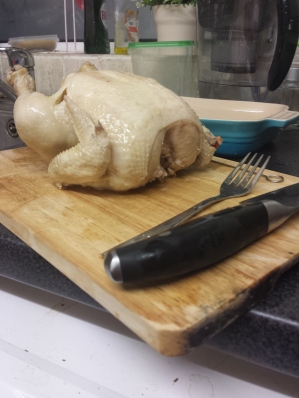
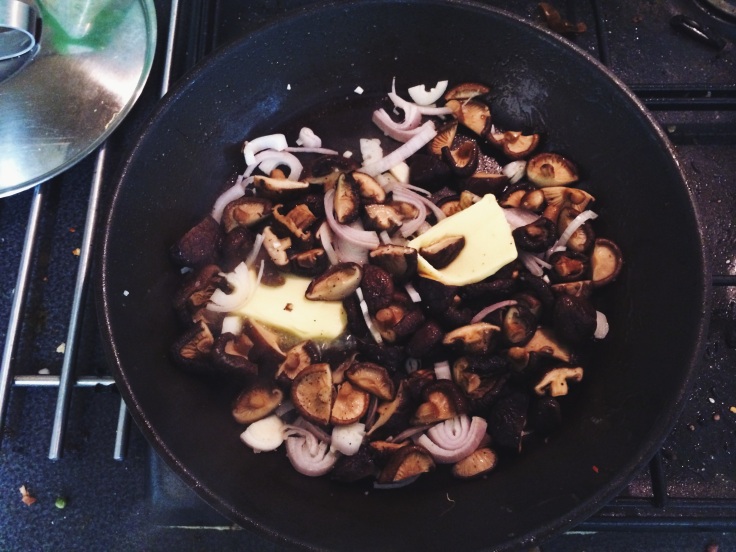
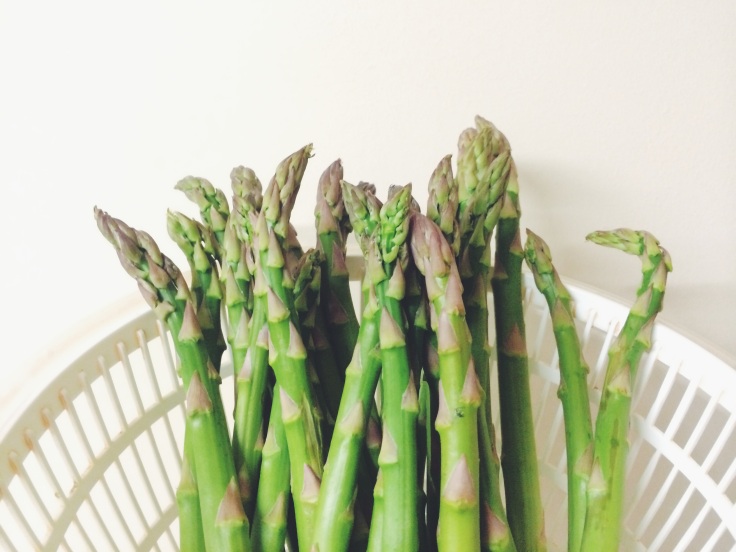
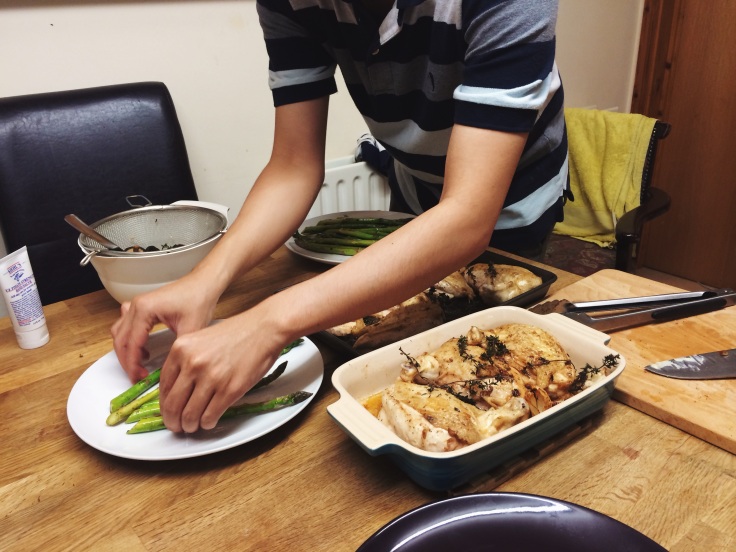
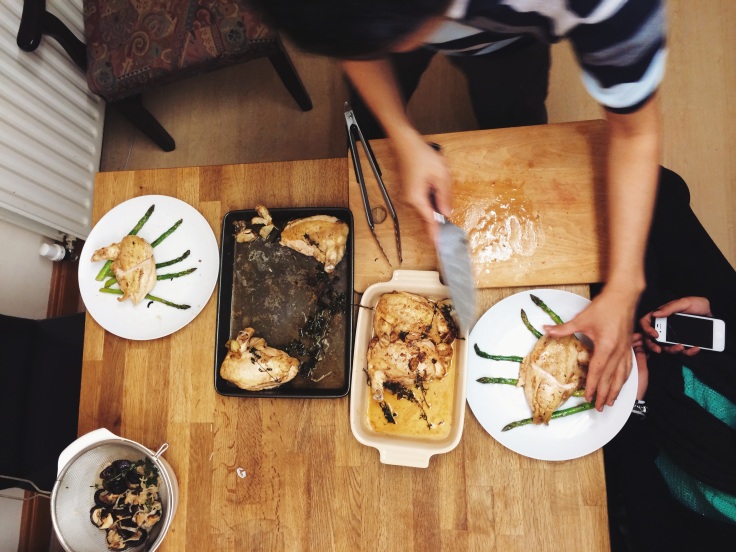
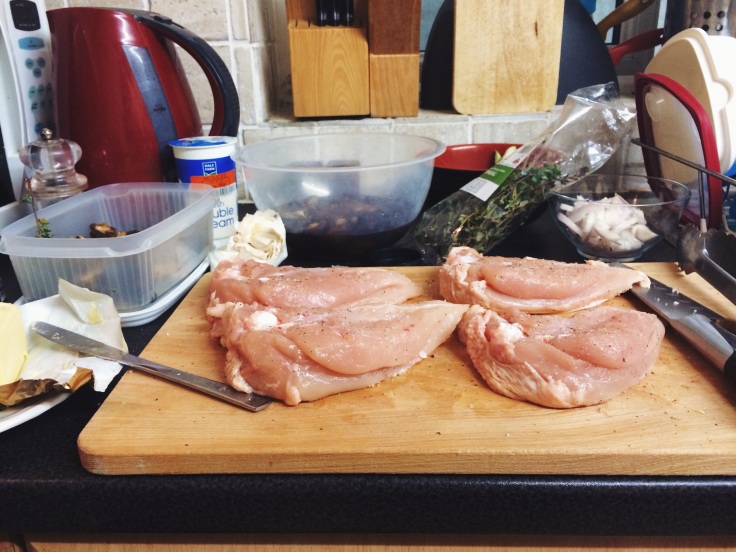 1.Preheat the oven to 180°C/gas 4. Infuse the oil with the garlic in an ovenproof pan over moderate heat for 2 minutes. Pat the chicken breasts dry with kitchen paper then season with sea salt and black pepper.
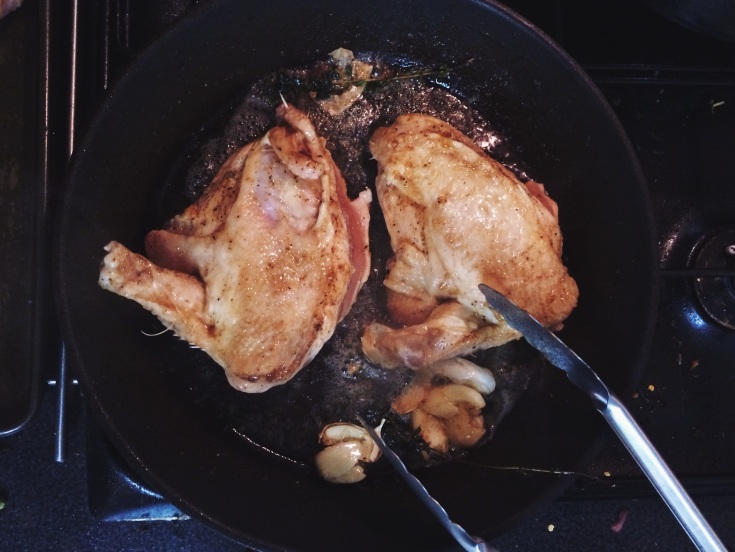


